


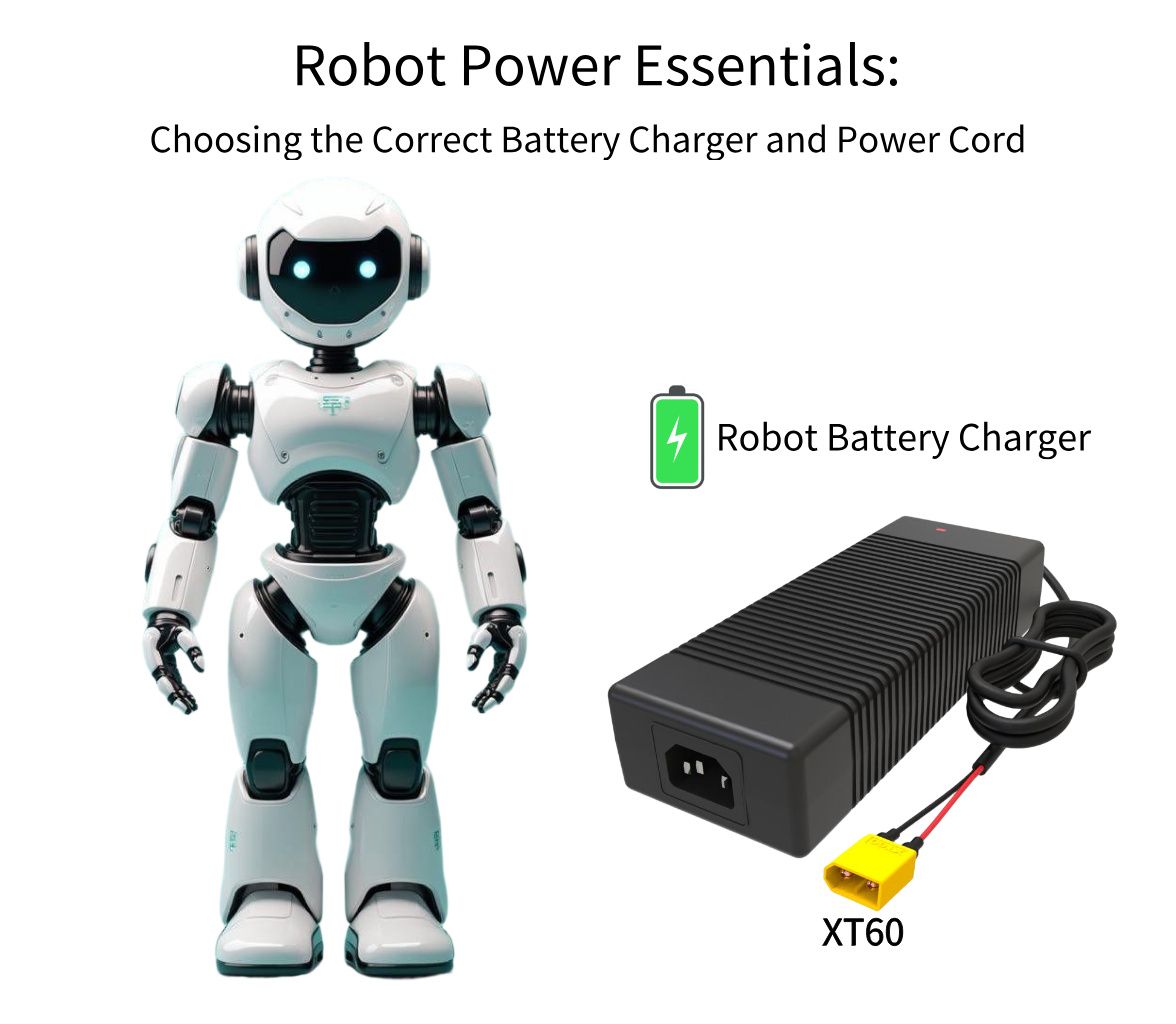
Robot Power Essentials: Choosing the Correct Charger and Cord
Power isn’t just an afterthought for your robot—it’s its lifeblood. Selecting the correct battery charger and power cord is one of the most critical, yet often overlooked, decisions in robotics. A mismatched setup can lead to slow charging, reduced battery lifespan, system instability, or even safety hazards.
Whether you’re building an educational rover, a competition robot, or deploying an industrial AGV, this guide breaks down the essentials of choosing the right power delivery system to keep your robot running reliably.
Part 1: The Charger – The Brain of Power Management
A charger is more than a simple power supply; it’s a battery management system. Choosing the wrong type can permanently damage expensive battery packs.
Key Charger Specifications to Match
- Voltage & Chemistry (Non-Negotiable):
- Output Voltage: Must exactly match your battery’s nominal voltage (e.g., 12V, 24V, 48V). Check your battery label.
- Battery Chemistry: The algorithm for Lithium-ion (Li-ion, LiPo) is different from Lead-Acid (SLA) または LiFePO4. Using a Li-ion charger on an SLA battery (or vice versa) is dangerous. Ensure the charger is designed for your specific chemistry.
- Charge Current (Amps – A):
- This determines charging speed and impacts battery health.
- Rule of Thumb: A safe charge rate is 0.5C. For a 5Ah (Amp-hour) battery, 0.5C = 2.5A.
- Application Guide:
- Slow/Maintenance Charging (0.1C-0.3C): Ideal for overnight charging, maximizes battery lifespan. (e.g., 0.5A-1.5A for a 5Ah pack).
- Standard Charging (0.5C): The best balance of speed and battery health.
- Fast Charging (1C+): Used in competition or industrial settings where downtime is critical. Only use if your battery is explicitly rated for it.
- Critical Features for Robotic Applications:
| 特徴 | Why It’s Essential for Robots |
|---|---|
| CC/CV Charging | (Constant Current/Constant Voltage) The proper, multi-stage charging algorithm for lithium batteries. A baseline requirement. |
| Balance Charging | Absolutely critical for multi-cell lithium packs (e.g., any pack > 3.7V). Uses a separate balance port to equalize voltage across all cells, preventing premature failure and fire risk. |
| Automatic Cut-Off | Stops charging when the battery is full. Prevents overcharging, which degrades cells. |
| Charge Profile Selection | Allows switching between LiPo, Li-ion, LiFePO4, NiMH, etc. Essential for labs or teams with multiple robot platforms. |
| Display & Data | A screen showing voltage, current, and mAh delivered is invaluable for diagnosing battery health and verifying charge cycles. |
Part 2: The Power Cord – The Vital Artery
The cord is your physical link to power. Its quality determines safety, voltage drop, and durability.
Power Cord Selection Checklist:
- Connector Type & Polarity:
- Match the Plug: Barrel jack (and its exact diameter), XT60, Anderson Powerpole, or proprietary connector? A loose connection causes arcing and heat.
- Verify Polarity: Is the center pin positive or negative? A polarity mismatch will instantly destroy electronics. Use a multimeter to confirm.
- Wire Gauge (AWG):
- Thicker wire (lower AWG number) carries more current with less resistance, preventing voltage drop and heat buildup.
- Minimum Recommendation: For most small-to-medium robots drawing <10A, 18AWG is sufficient. For high-current applications (>10A), use 16AWG or 14AWG.
- Length & Environment:
- Use the shortest cord practical to minimize voltage drop and tangling.
- For rugged or outdoor use, select a cord with a thick, abrasion-resistant jacket.
- 安全認証:
- Look for marks like UL, CE, or RoHS on the charger and cord. This indicates compliance with safety and environmental standards.
Part 3: Application-Specific Scenarios
| Robot Type | Recommended Charger Type | Cord & Connector Notes |
|---|---|---|
| Educational / Hobby Kits | Simple AC “wall wart” adapter or basic balance charger. Voltage must match exactly. | Barrel jack is common. Ensure students are trained on polarity. |
| Competition Robots (FIRST, VEX) | Smart balance charger (e.g., iMAX B6 style) with selectable profiles. Charge at 1C-2C only if allowed by rules and battery specs. | Use robust connectors like XT60. Have multiple, labeled cords for pit area efficiency. |
| Mobile Service/Research Robots | Smart charger with storage/maintenance mode. May require higher ampacity (5A+) for larger batteries. | Consider locking connectors (e.g., XLR) to prevent disconnection during movement. |
| Industrial AGVs/AMRs | Automatic Docking Station. Integrates with the robot’s BMS for opportunity charging. Often uses inductive or contact-based docking. | Designed as part of the system. Focus is on reliability, precision alignment, and thousands of cycles. |
| Drone/UGV Hybrids | High-wattage, multi-chemistry field charger capable of charging both flight and drive batteries. | Portable, often with alligator clips or a variety of adapters for field use. |
The Final Checklist Before You Buy
- [ ] Chemistry & Voltage: Charger output matches my battery’s exact nominal voltage and chemistry type.
- [ ] Current Rating: Charger’s amp output is within my battery’s safe charge rating (ideally 0.5C).
- [ ] Balance Port: For any multi-cell lithium pack, the charger has a corresponding balance port.
- [ ] Connector: The cord has the correct plug type and polarity for my robot’s power input.
- [ ] Wire Gauge: Cord is thick enough (16AWG or lower) for my robot’s current draw over its length.
- [ ] Environment: The charger and cord are rated for my use case (benchtop, pit, industrial floor).
Conclusion: An Investment in Reliability
Your robot’s charger and cord are not mere accessories; they are foundational components of its operational integrity. Choosing based on price alone is a false economy that risks your larger investment in the robot itself.
Invest in a quality, matched charging system. It ensures maximum uptime, extends your battery’s service life by years, and provides the safety assurance needed for autonomous operation. By carefully selecting these power essentials, you’re not just powering your robot—you’re empowering its potential.


 The Unsung Hero of Automation")


コメントを追加